How to Add a Data Source
This article describes the general process used to begin adding a data source to Nexla. For detailed information about adding a specific data source, see the articles listed on the Connectors page.
1. Select the Desired Data Source Type
Log into Nexla with your provided credentials to view the Nexla Dashboard.
If you need credentials, contact support@nexla.com.
Navigate to the Integrate section by selecting
 from the platform menu on the left side of the screen.
Click
 at the top of the Integrate toolbar on the left.
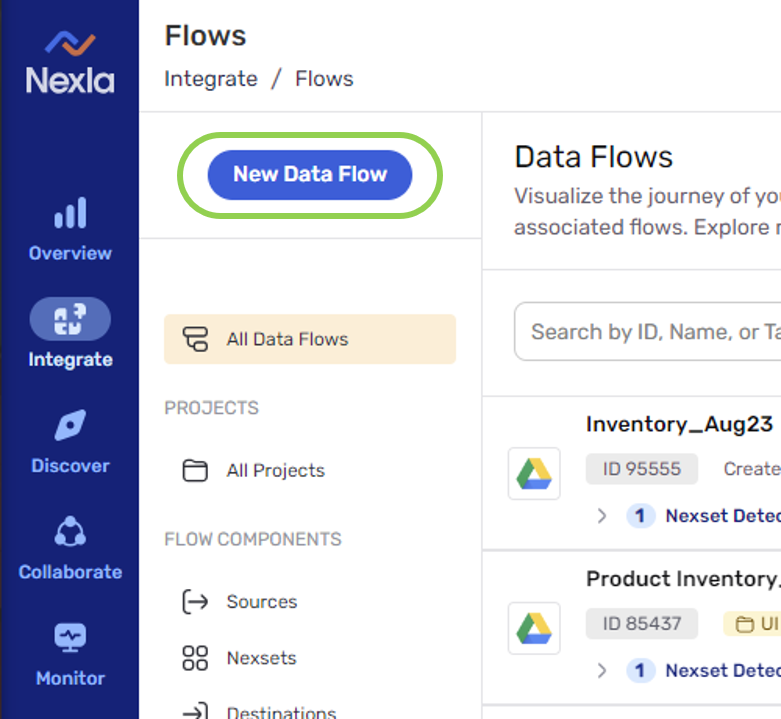
Select the data source type to be added to Nexla; for example,
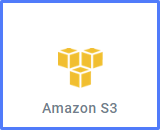
Although Amazon S3 is selected as an example, this guide presents the general procedure for adding a data source of any type.
Click
 in the upper right corner of the screen to begin adding a data source of the selected type.
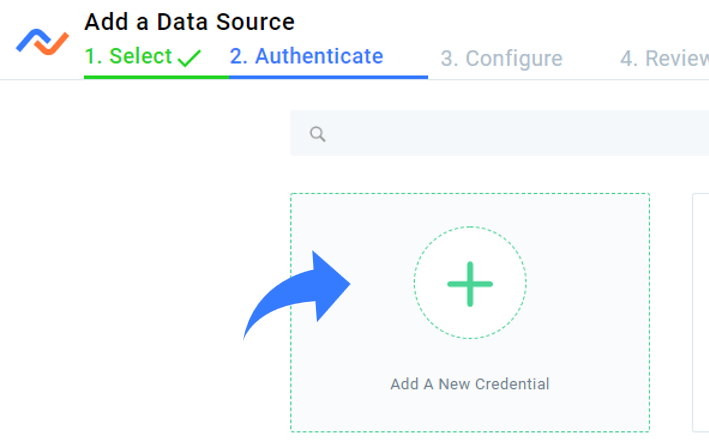
2. Begin Adding a New Credential
Select "Add a New Credential".
3. Complete Addition of the Data Source
To complete the data source addition process, follow the instructions provided in the article corresponding to the desired data source type, as different data source types require differing information and procedures.
These articles are linked below and can also be found on the Connectors page.
- REST API-Based Data Systems
- File-Based Data Systems
- Databases & Data Warehouses
- Email Data Source
- FTP-Based Data Source
- Webhook Data Source
4. No-Code, Bidirectional Connectors
Learn more about Nexla's no-code, bidirectional connectors that can be used to connect to any data source within seconds, without writing any code, in the video below: