Connect to Netsuite Analytics Warehouse
This article explains how to connect to NetSuite Analytics Warehouse (NSAW) in Nexla to fetch object records.
To learn how to create and/or update records in NSAW with Nexla, see the Help Center article Send Data to NetSuite Analytics Warehouse.
1. Create a New Oracle Autonomous Credential for Use with NSAW
Log into Nexla with your provided credentials to view the Nexla Dashboard.
If you need credentials, contact support@nexla.com.
Navigate to the Integrate section by selecting
 from the platform menu on the left side of the screen.
Click
 at the top of the Integrate toolbar on the left.
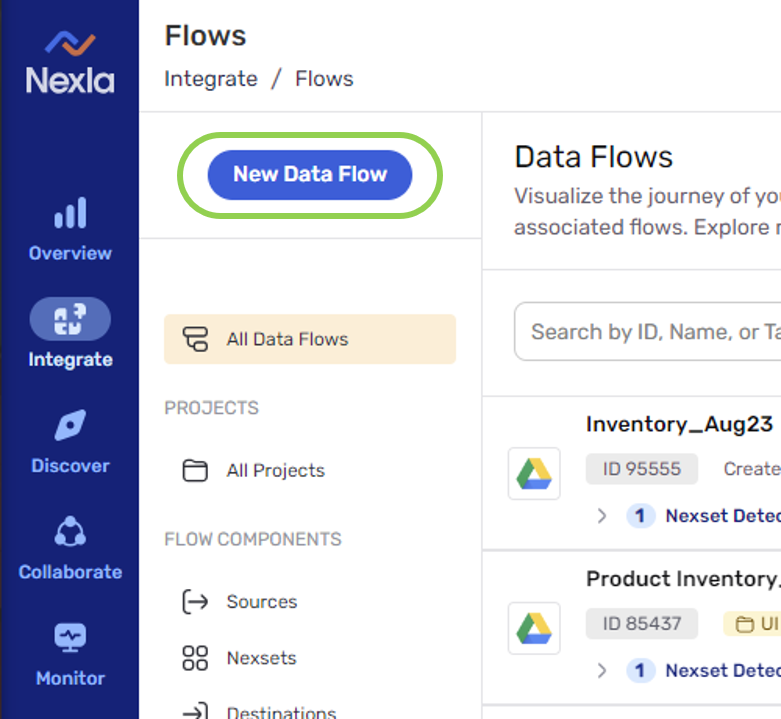
Select
 from the data source list; then, click
  in the top right corner of the screen to begin adding the new Oracle Autonomous credential for use with NSAW.
 To use a credential that has already been added, select that credential, click
in the top right corner of the screen, and skip to Section 3.
2. Input Your Credential
Select
 to open the Add a New Credential window and begin adding a new Oracle Autonomous credential.
Enter a name for the credential in the Credential Name field.

Optional: Enter a description of the credential in the Credential Description field.

Click
 to upload the Oracle Wallet file associated with the NSAW database to which Nexla should connect.
 Each Oracle Autonomous connection requires the use of a wallet containing information about the database to which Nexla will connect, including key information and other types of information required for database connection.
These wallet files are downloaded as .zip files from the database. The wallet file should be uploaded as the original .zip file, and Nexla will automatically process them.
Enter the username for the NSAW database to which Nexla should connect in the Username field.

Enter the password associated with the username entered in Step 5 in the Password field.

Optional: Enter the name of the NSAW database corresponding to this credential in the Database Name field.

Optional: Enter the name of the schema used in the NSAW database in the Schema Name field.

Optional: If the NSAW database is not publicly accessible and therefore requires an SSH Tunnel for access, click
 to expand the Advanced Settings menu, and check the box next to "Requires SSH Tunnel for access?". Then, follow the instructions below.
 This will configure Nexla to connect to a bastion host via SSH, with the database connection occurring through the SSH host.

In the SSH Tunnel Host field, enter the SSH tunnel hostname or IP address of the bastion host running the SSH tunnel server with access to the database.

Enter the port number of the tunnel bastion host to which Nexla can connect in the SSH Tunnel Port field.

In the Username for Tunnel field, Enter the SSH username created for Nexla in the bastion host.
Usually, the username is set to "nexla".

Click
 .
. If all of information was entered correctly in the steps above, Nexla should successfully save the credential and authenticate to the NSAW account.
3. Configure the NSAW Data Source
In Nexla, the NSAW data source can be selected using either Table Mode or Query Mode.
Table Mode allows users to specify the database source through a simple selection method. This mode is equivalent to running a simple, optimized SELECT operation on any database table. To use this mode for configuration, see Section 3.1.
Query Mode allows users to enter a query to selectively fetch specific data from the source. This mode provides a free-form query editor that can be used to write queries using the syntax and convention supported by the underlying database. Queries of any complexity level can be executed, as long as they adhere to the supported syntax. To use this mode for configuration, see Section 3.2.
3.1 Table Mode
To configure the NSAW data source using Table Mode, ensure that the
 tab is selected.
Find the database table from which Nexla should read data. Expand databases and/or tables as necessary by clicking the
 icon next to each.
Select the location from which data should be read by hovering over it and clicking the
 button that appears to the right.
 The button should now display
 , and the path of the selected location will be shown at the top of the table list.
Optional: Click the
 button to the right of the mode-selection tabs to generate preview samples of data from the selected source at the bottom of the screen.
Proceed to Section 4.
3.2 Query Mode
To selectively fetch data from the NSAW source using Query Mode, select the
 tab.
tab. 
Enter the query specifying the data that Nexla should read in the Custom Query to Fetch Data field, adhering to the database syntax and convention.
In this mode, Nexla supports any query that can be written following the database syntax and convention, regardless of complexity.

Optional: Click the
button to the right of the mode-selection tabs to generate preview samples of the data selected according to the entered query at the bottom of the screen. 
Proceed to Section 4.
4. Configure Advanced Data Source Settings
Nexla provides the options to specify the frequency at which the NSAW data source will be scanned and to select whether a database commit should be performed when appropriate. The steps below describe how to configure these settings.
To set up the NSAW data source using the default settings for these configurations, skip to Section 5.
Optional: In the Advanced Settings menu on the right, use the Scheduling pulldown menu to specify how often Nexla should fetch data from the source.
By default, Nexla scans the data source for new data daily. Skip this step to continue setting up the NSAW data source with the default scan frequency setting.

For options such as "Every N Hours" and "Every N Days", use the additional pulldown menu that appears when these options are selected to specify the value of N defining the fetching frequency.

To set a specific time at which Nexla should fetch any new data from the source, check the
 box, and type or use the pulldown menus to enter the desired time.
Optional: To configure Nexla to execute a database commit when the query includes statements that should also be committed to the database after ingestion, under Post Read Settings, select "True" from the "Perform Database Commit After Read?" pulldown menu.
Typically, queries do not include statements that should be committed to the database after ingestion, and this setting is set to "False" in most cases.

5. Finish Creating the NSAW Data Source
Once all of the above steps have been completed, click
 in the upper right corner of the screen to create the new NSAW data source.
The confirmation page indicates that the NSAW data source has been successfully created.

Optional: Edit the name of the newly added data source by clicking on the name field and entering the desired text.

Optional: Add a description of the data source by clicking on the
 field below the data source name and entering the desired text.
To return to the My Data Sources screen, click
 in the upper right corner of the screen.
 To view the newly created data source, click
 .
. To view datasets detected from the newly added source, click
 .
.
6. FAQs
If errors are encountered during connection to the NSAW data source, the database name and schema name can be entered manually. The information below describes how to find these database and schema details.
Retrieving the database name from the Wallet file:
Within the Oracle Wallet .zip file, find the file titled "tnsnames.ora", and open it with a text editor.
This file contains a series of TNS names, with each entry representing a database connection string.
Extract the database name from the TNS name. The database name includes all text listed before the underscore.
For example, in the TNS entry
<databasename\>\_high, the database name includes all characters preceding the underscore and is "databasename".Enter the database name in the Add New Credential window in Section 2, Step 7.
Retrieving the schema name from the Wallet file:
Within the Oracle Wallet .zip file, find the file titled "README", and open it with a text editor.
This file contains information about and links to Autonomous Database tools and resources.
In a new browser window, open the SQL Developer URL provided in the "README" file, and log in with your NSAW username and password.
Open SQL Development
The SQL Development UI displays a list of schemas contained in the database. Use the schema from this list in the Add New Credential window in Section 2, Step 8.