How to Send a Nexset (Dataset)
This article describes how to send a Nexset to a destination with nexla.
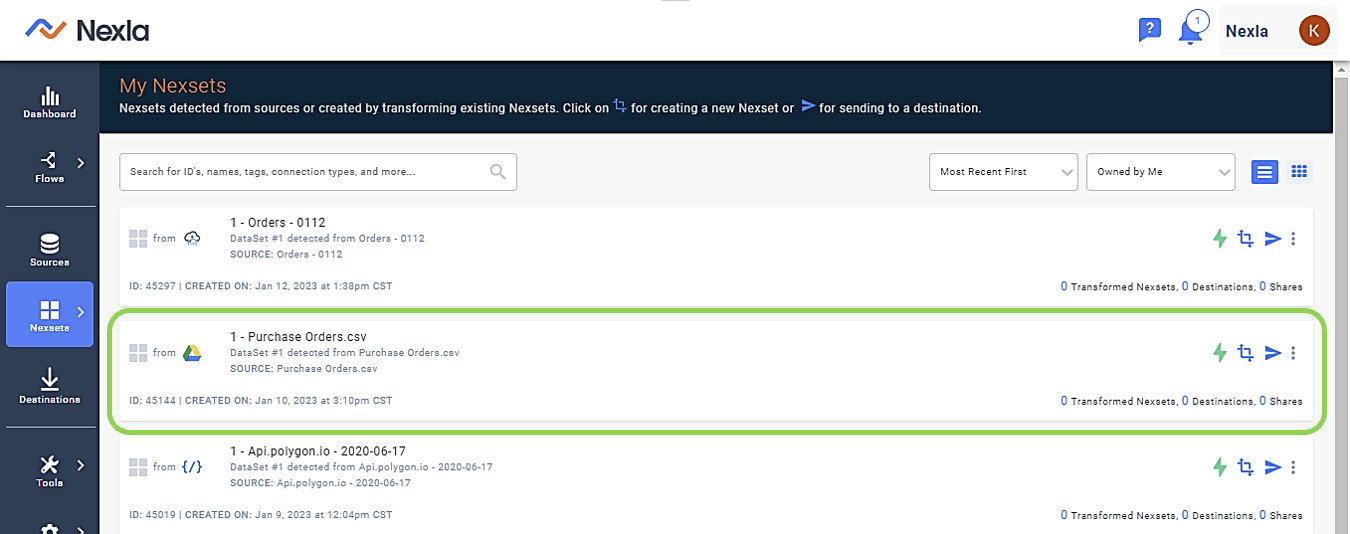
1. Select the Nexset to Be Sent
After connecting to a data source, hover over
 on the toolbar on the left, and click
  on the menu that appears.
 To learn how to connect to a data source, see the articles in the Connectors section.
Click on the Nexset that should be transformed and/or sent to a destination.
This will open a side window providing an overview of the selected Nexset, including sample previews of the data that it contains; the Nexset schema; any Nexset rules applied for transformation; data statistics; any notifications, activity, and error data related to the Nexset; and a list of sharing activity for the Nexset. Use the tabs at the top of the window to access these categories.
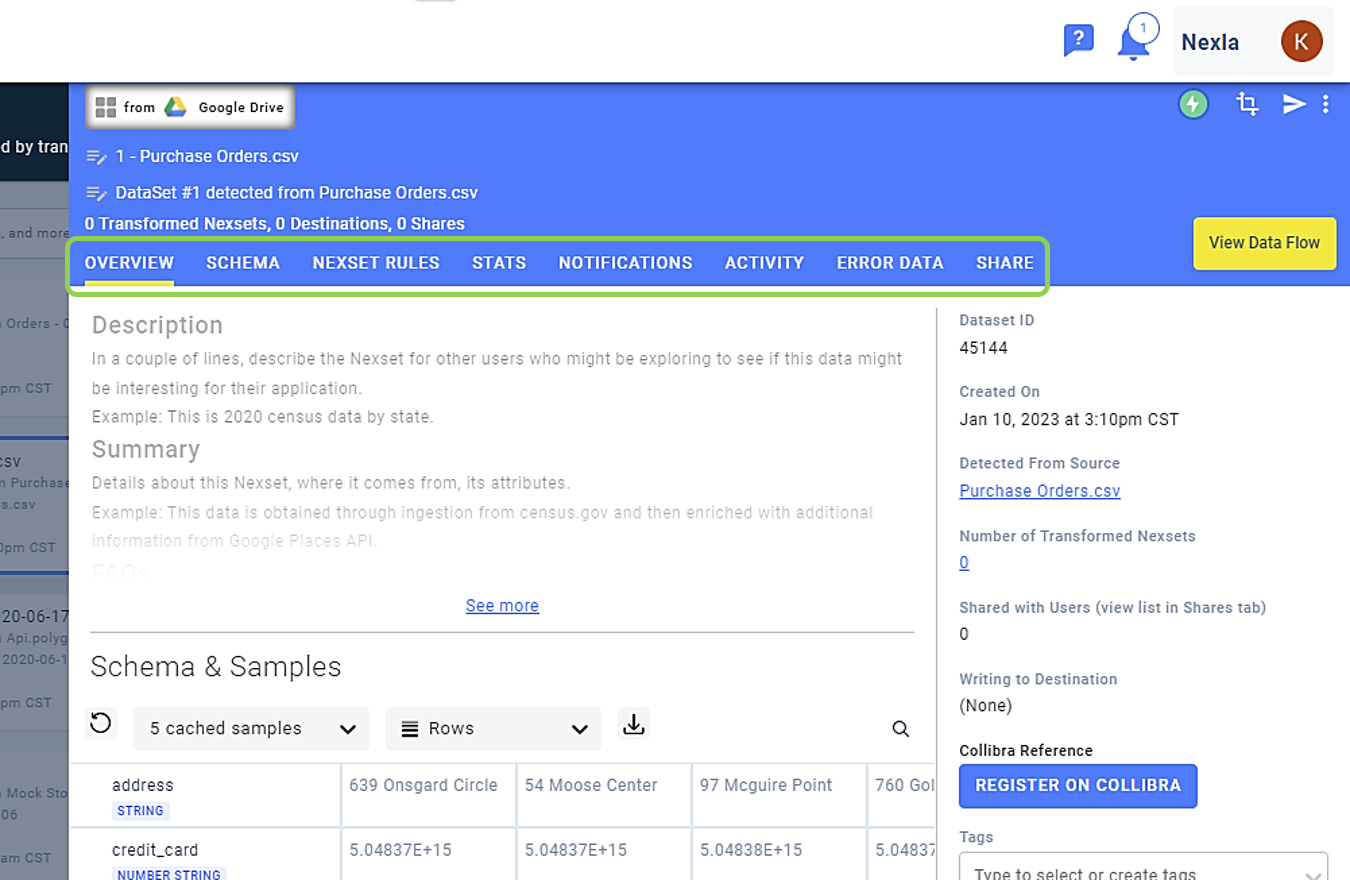
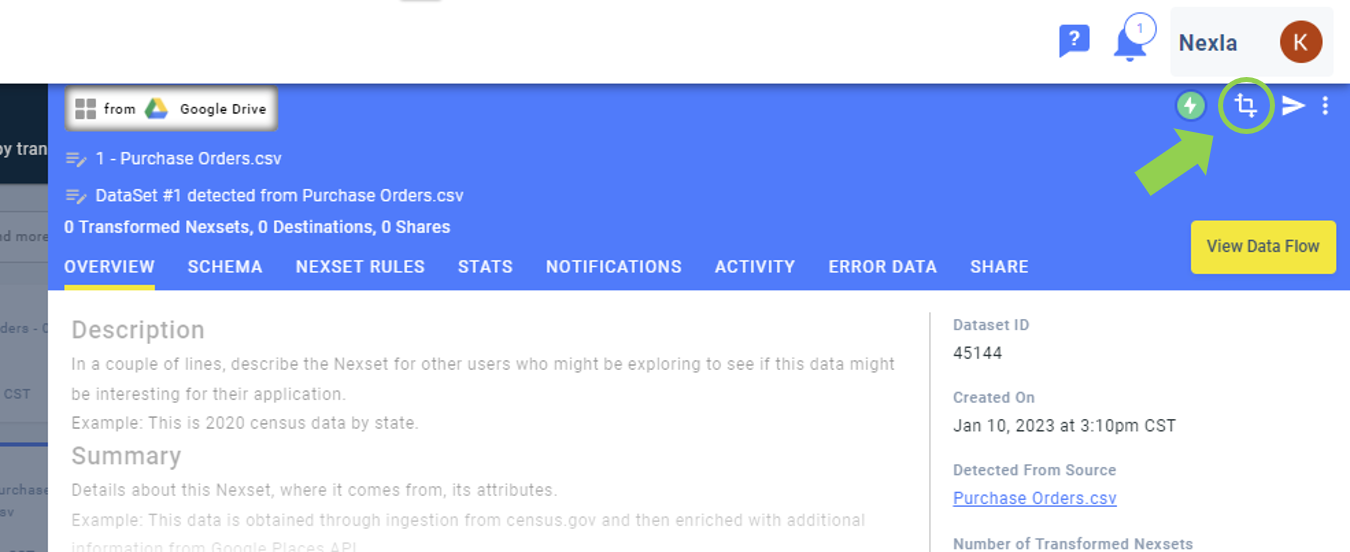
Optional: To transform the Nexset before sending it to a destination, click the
 icon at the top right of the window to access the Nexset Designer.
 For information about using the Nexset Designer to transform Nexsets, see the article Nexset Designer Overview.
2. Select the Nexset Destination
Click the
 icon at the top right of the window to send the Nexset to a destination. This will open the destination configuration screen.
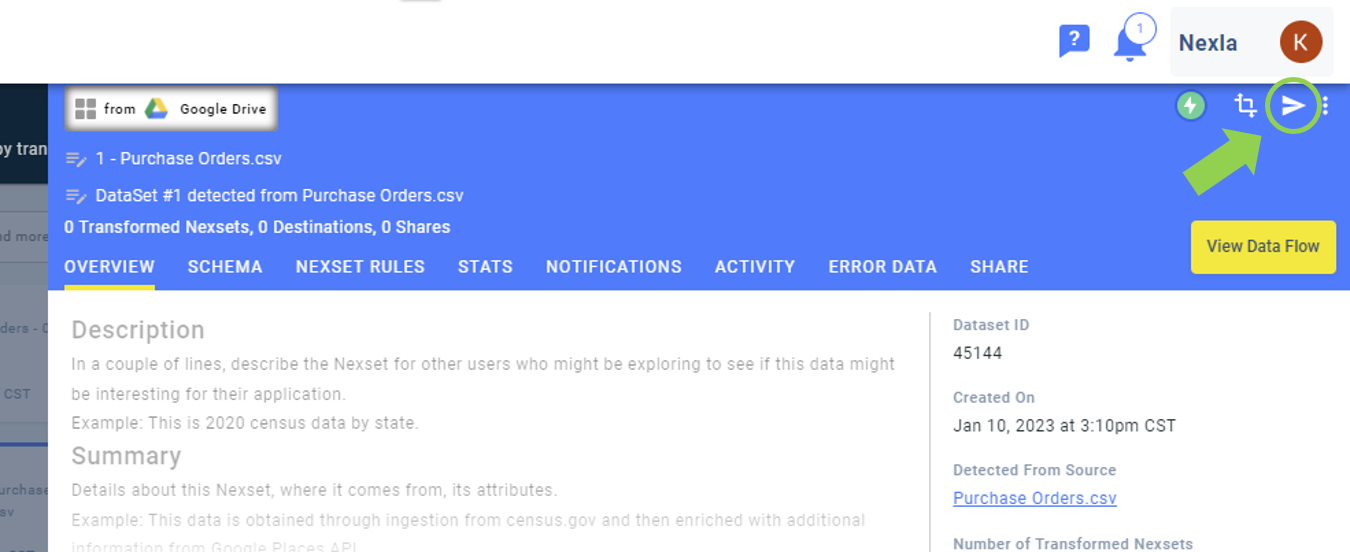
Select the desired destination from the list, for example,
 , and click
  in the top right corner of the screen. Then, proceed to either Step 3 or Step 4.
Optional: To add a new credential, select
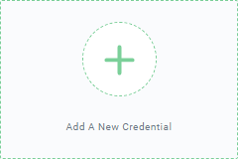 , and enter the required information in the window that appears.
 Nexla's connectors are bi-directional, meaning that data can flow both to and from any connected data source. To connect to a destination, follow the instructions in the Connectors section.
Optional: To use a previously saved credential for the destination, select the credential.
Click
in the top right corner of the screen.
3. Configure the Destination and Send the Nexset
In the
 screen, select the desired destination folder, database, table, etc., depending on the destination type.
Click
in the top right corner of the screen.Optional: For some destinations, an additional
 screen allows users to define the format in which the data contained in the Nexset should be sent to the destination. The required information in this screen varies by destination. Once the required information has been entered, click
  in the top right corner of the screen.
Once the destination has been created, click
 to start the flow of data to the destination. Alternatively, click
  in the top right corner of the screen to save the destination and activate the flow later.