Data Source Advanced Settings
1. Access Data Source Advanced Settings
In the Configure step of new data source creation, click on the vertical bar labeled
 on the right side of the screen to access the Advanced Settings menu.
 Setting options available in the Advanced Settings menu are detailed in the following sections.
2. Scheduling File Checks
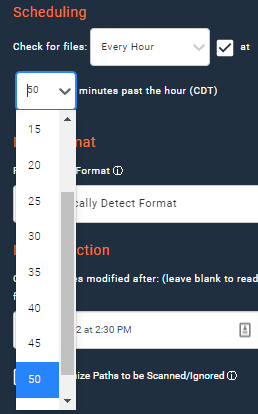
Access the pulldown menu next to "Check for files:" to select the frequency at which Nexla should check the source for new files.

Users can select from options including "Once" for a one-time scan, "Every 15 or 30 Minutes", "Every Hour", "Every Week", "Every Month", or "Every N Hours/Days/Months".
Optional: To specify the interval for the Every N Hours/Days/Months options, select the desired interval from the pulldown menu that appears when one of these options is selected.

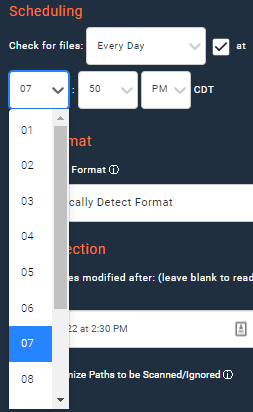
To specify the time at which Nexla will scan the source, ensure that be box preceding "at" is checked, and select the desired time from the pulldown menu. If you do not want to specify a time, uncheck the box preceding "at".
For frequencies measured in hours or minutes, use the pulldown menu to specify the time in minutes after the hour.
For frequencies measured in days, weeks, or months, use the pulldown menu to specify the hour and minute of the scan.
3. Data Format (File Parsing)
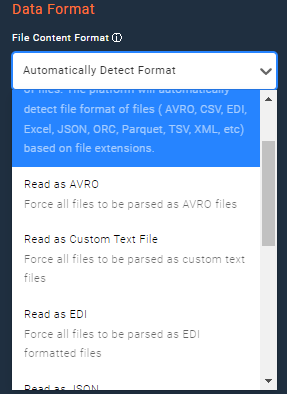
By default, Nexla automatically detects Nexsets from data sources through parsing based on file extensions. However, parsing and file processing can be customized to address specific scenarios, such as:
- Files without an extension to indicate the type of parser that should be applied
- Compressed .zip or .tar files
- Text files, including those with fixed-width or custom column delimiters (ex: .dat, .txt, .csv, .asc)
- CSV files without a header row
- Structured files in which some lines should be skipped
- Files for which the extension does not match the desired parser
- Files that require customization of how the default parser treats the contained data
To override the default parsing method, select the desired option from the File Content Format pulldown menu.
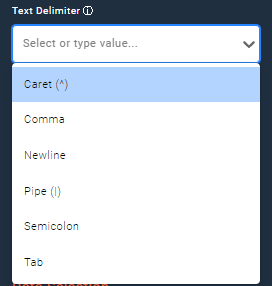
Optional: When "Read as Custom Text File" is selected to parse all files as custom text files:
In the Text Delimiter field, use the pulldown menu to select from common delimiters or enter the desired delimiter to specify the delimiter that Nexla will use to automatically split data rows into multiple attributes.
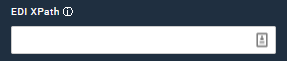
Optional: When "Read as EDI" is selected to parse all files as EDI-formatted files:
If the entire file is not a valid EDI file, in the EDI XPath field, enter the path (in XPath format) to the area of the file that should be parsed as EDI-formatted data.
Optional: When "Read as JSON" is selected to parse all files as JSON-formatted files:
When JSON Ingestion Mode is set to
 , configure Nexla to ingest only part of the JSON object by specifying the path (in JSON Path format) to the desired area of the file in the JSON Path To Data field.
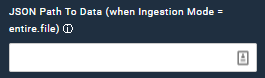
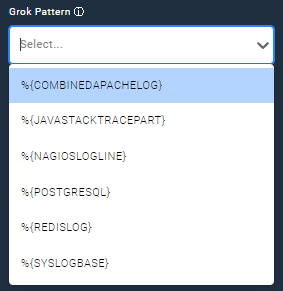
Optional: When "Read as Log File" is selected to parse all files as Log File-formatted files:
In the Grok Pattern field, use the dropdown menu to select a predefined Grok pattern or type your own custom Grok pattern to specify the Grok pattern that that Nexla will use to automatically parse data in log files into multiple attributes.
Optional: When "Read as XML" is selected to parse all files as XML-formatted files:
From the XML Ingestion Mode dropdown, select "entire.file" if the entire object is a valid XML file, or select "row" if each row should be parsed as a separate XML object.
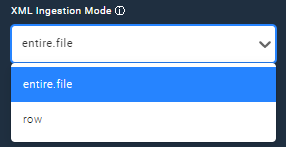
To ingest only part of a file when the XML Ingestion Mode is set to
, enter the path (in XPath format) to the desired area of the file in the XPath to Data field. 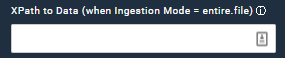
4. Data Selection
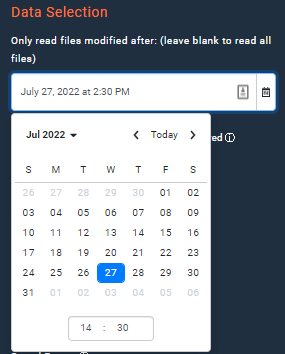
To configure Nexla to read only files created after a specified date and time within the source, use the dropdown calendar in the "Only read files modified after" field.
Select the desired start date from which files should be read.
Enter the desired start time on the selected date in the bottom field.
To scan or ignore all subfolders and/or files that match a particular pattern, check the box next to "Customize Paths to be Scanned/Ignored".
Optional: Configure Nexla to scan only files and/or folders that match a defined pattern (e.g., only those in a specific subfolder) by entering the path into the "Paths to be scanned" field.

Input patterns must match the Apache Ant Path Pattern and start from the root of the location accessible to the credentials. Nexla will scan only files with the matching pattern located inside the selected subfolder.