Emails containing data can be used to easily set up automated data flows in Nexla. Data detected from an email source is automatically organized into Nexsets that can be transformed and sent to destinations like any other Nexset. With an email destination in a data flow, Nexset data can be sent to any email address in an attachment.
1. Create an Email Data Source
Nexla can ingest data from tables inside the email body or from attachments—including using optical character recognition (OCR) to read data in attachments such as PDFs and images.
After logging into Nexla, navigate to the Integrate section by selecting
 from the platform menu on the left side of the screen.
 Click
 at the top of the Integrate toolbar on the left to open the Select Source Type screen.
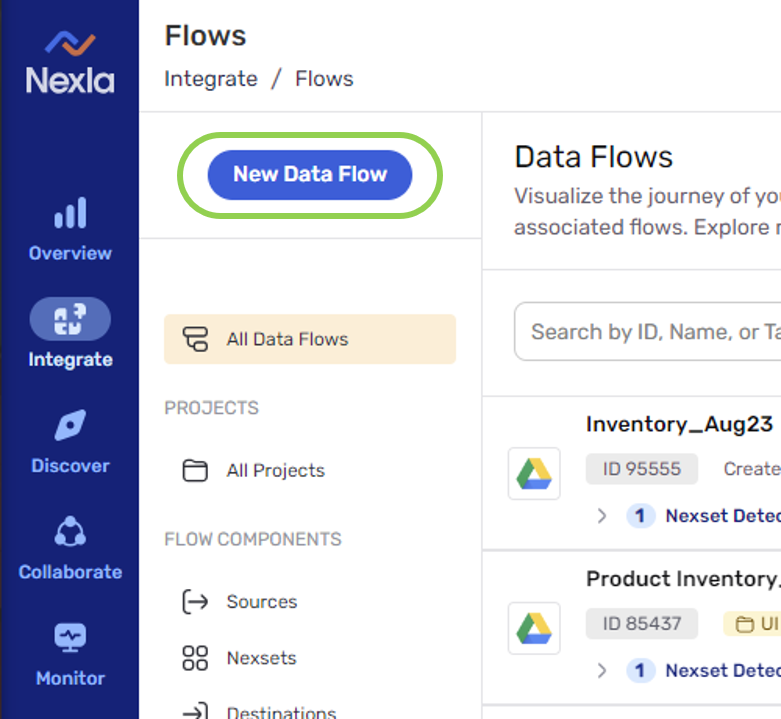
Select the
 connector, and click
  in the top right corner of the screen.
1.1 Configure the Email Data Source
Enter a name for the email source in the Data Source Name field.

In the Advanced Settings panel on the right side of the screen, select the part of each email Nexla should read for data and Nexset detection from the Dataset Detection Mode pulldown menu.
- Email Attachments (Text) – This option configures Nexla to automatically detect data in email attachments that do not require optical character recognition, including file formats such as AVRO, CSV, EDI, XLSX, XLS, JSON, ORC, Parquet, TSV, XML, etc.
- Email Content – This option configures Nexla to automatically detect data located in tables within the email body.
- Image/PDF Email Attachments – This option configures Nexla to automatically detect data in email attachments that require optical character recognition, such as PDF or image files.

Optional: Nexla is automatically configured to detect the format in which each file should be parsed. To force all files from this email source to be parsed in a specified format, select the corresponding option from the File Content Format pulldown menu in the Advanced Settings panel.
The pre-selected "Automatically Detect Format" option is appropriate for most use cases, including those in which the email source contains files in more than one format.

Optional: To configure Nexla to detect a single schema when reading data from this email source, select "Yes" from the Enforce Detection of Single Schema pulldown menu.
When the detection of a single schema is enforced for an email source, new data will result in the growth of that schema. Newly detected data that is unrelated to the schema will be quarantined for reprocessing.

Click
 .
. 
Copy the unique email ID generated for this email data source, and paste it into a word processing document for use in Section 1.2.
The generated email ID is unique to this email data source—a new ID is generated for each email data source added to a Nexla account.

Click
 in the top right corner of the screen to save and create the email data source.
 After successfully creating the email data source, it will be displayed in a flow view with the message "Waiting for data...", as shown in the example below.
Important Note: Nexla will now begin scanning the email source for data, but the steps in Section 1.2 must be completed before Nexla can receive data from this source.

1.2 Set Up Email Forwarding Rules
Log into the email account associated with the email data that Nexla should read, and set up forwarding rules to forward relevant emails to the unique ID copied in Section 1.1.
See the email provider's documentation for instructions on how to set up email forwarding rules.
Once emails are forwarded to the email ID, Nexla will scan them and organize detected data into one or more Nexsets according to the configured settings for the email data source.
Important Note: Nexla will scan the source for new email content at fixed intervals; thus, observing a 10-15 minute delay between an email appearing in the associated email account and the data that it contains becoming available in Nexla.
2. Send Data as an Email Attachment
Nexla's bi-directional connectors allow data to flow both to and from any location, making it simple to set up up a data flow that sends data to an email destination.
2.1 Select the Destination Type
Locate the Nexset that will be sent to the email destination.
- To view all accessible Nexsets within their associated data flows, navigate to the Integrate section by selecting
 from the platform menu on the left side of the screen. In the All Data Flows screen, click on a listed data flow to view all detected and transformed Nexsets that it contains.
 - To view a list of all accessible Nexsets, select from the platform menu, and select
 from the Integrate menu on the left to open the Nexsets screen.
- To view all accessible Nexsets within their associated data flows, navigate to the Integrate section by selecting
Click the
 icon on the Nexset. This will open the Send Nexset to Destination screen.
Select the
connector, and click in the top right corner of the screen. This will open the
 screen.
2.2 Configure the Data Destination
Enter the email address to which the data will be sent in the E-Mail Recipient of Data field.

Select the format in which the data will be sent from the Data File Format pulldown menu.

Enter the subject line for the email containing the data in the Subject field.

Enter the text that will be sent in the body of the email in the E-Mail Body field.

The Sample Request Payloads pane on the right displays sample records from the request payload. Ensure that these sample records match the intended data content and format.

2.3 Save and Activate the Email Data Destination
Once all of the steps in the preceding sections have been completed, click
 in the top right corner of the screen.
 The confirmation screen indicates that the configured email destination has been successfully created in the data flow.

Optional: To edit the name of the newly created destination in this screen, click on it, and enter the desired text.

Optional: To enter a description of the newly created destination, click on
 , and enter the desired text.
To activate the flow of data into the database destination now, click
 .
. To activate the flow of data into the database destination later, click
 in the top right corner of the screen.
 When the destination is ready to be activated, find the flow in the All Data Flows screen, and click
 on the destination.
Click
 on the menu that appears to activate the flow of data to the database destination.