Webhook
This guide provides instructions for creating and configuring incoming webhook data sources in Nexla, which is a simple way to send data in JSON and/or XML payloads to the platform.
The content of payloads sent to the incoming webhook data source can range from a single record to batched events or records. When new data is sent to the webhook URL, Nexla will detect a schema and organize the data into one or more Nexsets, according to the settings configured for the data source.
Incoming webhook data sources in Nexla only accept JSON- and XML-formatted content.
Example applications/benefits of incoming webhooks as data sources include:
- Pushing partner data into Nexla
- Receiving new data from partners without continuously calling an API or manually checking for new files
- Instantly receiving new data from a partner as soon as it is sent
1. Create an Incoming Webhook Data Source
After logging into Nexla, navigate to the Integrate section by selecting
 from the platform menu on the left side of the screen.
 Click
 at the top of the Integrate toolbar on the left to open the Select Source Type screen.
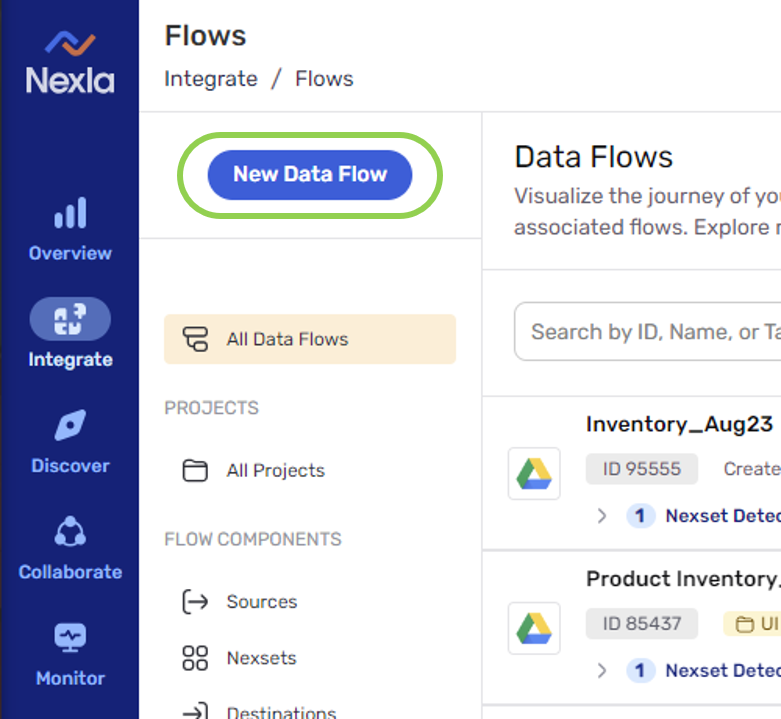
Select the
 connector, and click
  .
. This will open the Create a Webhook Data Source page.

Enter a name for the webhook data source in the Data Source Name field.

Optional: By default, Nexla is configured to organize all data from the webhook source into one Nexset. If data from this webhook should be organized into multiple Nexsets, uncheck the box next to "Force Single Schema".

Select the authorization method that should be used for the webhook source from the Authorization Type pulldown menu.
Nexla API Key – When this option is selected, the webhook will be authorized using a Nexla API key.
Payload Hash – If incoming data from this webhook will be sent by a third party that includes a hash with the payload, select this option to include an additional HMAC authorization layer to validate that the incoming call was generated by the authorized partner.
When Payload Hash is selected, complete Steps a-c below before proceeding to Step 7.

When Payload Hash is selected:
Select the type of hashing algorithm used by the authorized partner from the Hashing Algorithm pulldown menu.

Enter the name of the parameter or header that will contain the hash in the incoming payload in the Request Param Containing Hash field.

Enter the secret key used to hash the payload in the Hash Secret Key field.

Click
 to generate a webhook URL and API key that will be used to receive data.
Optional: Nexla webhooks can accept JSON and/or XML content. To specify the content type for incoming data in one or more request headers, enter the type of content that Nexla will receive from the webhook in the Content Type field.
The content type must be entered in the format
'Content-Type: application/json'.
To specify a second type of content that will be received from the webhook, enter this content type in the second Content Tyype field.

View sample requests that could be sent to the newly created incoming webhook data source using JSON or XML payloads under the Sample Request heading.

Click the
 icon to the right of a sample request to copy it for future reference.
Click
 in the top right corner of the screen to save and create the incoming webhook data source.
 Nexla will now begin scanning the incoming webhook for new data. Once new data is detected, the platform will detect a schema and ingest the data into the data flow.

2. Send Data to the Incoming Webhook
Once the incoming webhook data source has been created, JSON/XML data payloads can be sent to the source using the webhook URL and API key generated in Section 1.
Set-up procedures vary according to the app or system used to send data. This section uses Postman as an example to show the general procedure.
Enter the generated webhook URL as the posting route.

Configure the app or system to use baic authorization.

Enter the generated API key.

Optional: Configure a header specifying the content type.

Enter the data that will be sent to the incoming webhook data source.

Once the data has been entered, click Send to send the data to the incoming webhook data source.

Now, Nexla will receive the data via the incoming webhook data source, and the data will be organized into one or more Nexsets that can be viewed in the data flow.

3. View the Incoming Webhook URL and API Key
After creating the incoming webhook data source, the webhook URL and API key can be easily viewed at any time.
Navigate to the Integrate section by selecting
from the platform menu on the left side of the screen. Select
 from the Integrate menu on the left.
Locate the data flow originating from the incoming webhook data source, and click on it to open the expanded view of the data flow.

Click the
 icon on the incoming webhook data source to open the data source information drawer on the right.
The Overview tab in the data source information drawer displays the webhook URL created for this source in Section 1.
To learn more about the information and functions available in the data source information drawer, see Data Source Information.

Click the
icon to the right of the webhook URL to copy it for use in sending data to the webhook.The Overview tab also displays a sample request that could be sent to this webhook source for reference.

To view and/or copy the API key generated for this webhook, click the link provided under the API Keys heading.
This will open the API Keys screen.

Click on the listed API key to open its information drawer.

The information drawer displays the API key for this source under the API Key heading. Click the
icon to the right of the API key to copy it for use in another location. 