Create a Static Lookup
This article provides information about creating a static data lookup in Nexla. Data lookups can be used to convert data values based on information in another data source—data lookups manage relationships between data values. In a static data lookup, changes in these relationships are managed manually.
For information about creating a dynamic lookup, which updates relationships between data values based on a data source that changes, see our article Create a Dynamic Lookup.
See the video below for an introduction to data lookups in Nexla, as well as an in-app walkthrough of the instructions provided in this article:
1. Create a Static Lookup
On the toolbar on the left side of the screen, hover over
 and click
  on the menu that appears.
Click
 in the top right corner of the screen.
Enter a name for the lookup in the Name field.

Optional: Enter a description of the lookup in the Description field.

Enter the data to be used for the lookup using one of the methods described in the following sections.
2. Enter Lookup Data in a Table
To lookup enter data in a table within the Nexla platform, select the
 tab.
tab. Two columns are initially provided. The first, labeled "key", is selected as the primary key value column by default.
To edit a key name, click
 on the right side of the key header.
 Enter the desired key name in the Name field.
Optional: Enter a key description in the Description field.
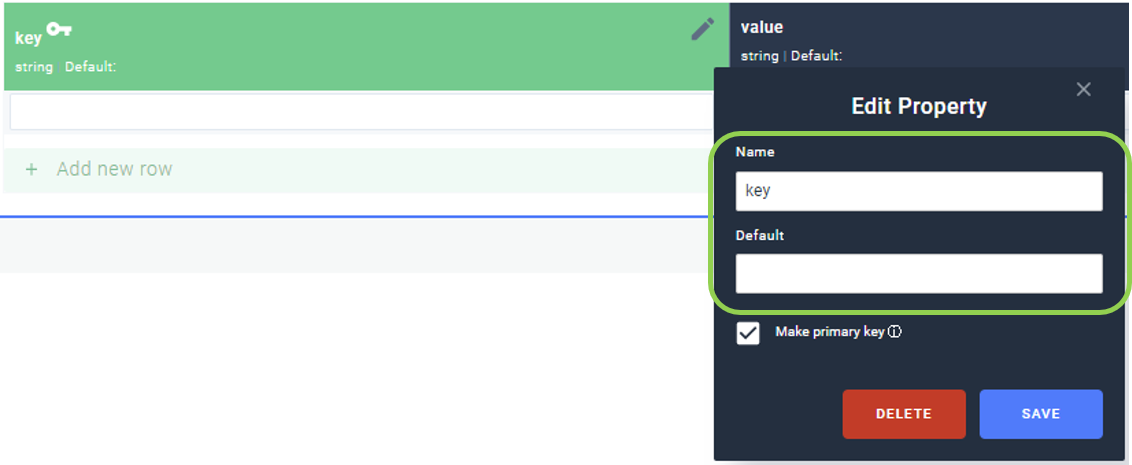
Click
 at the bottom of the Edit Property window to save the changes.
Optional: To add a new key to the lookup, click
 to the right of the key headers.
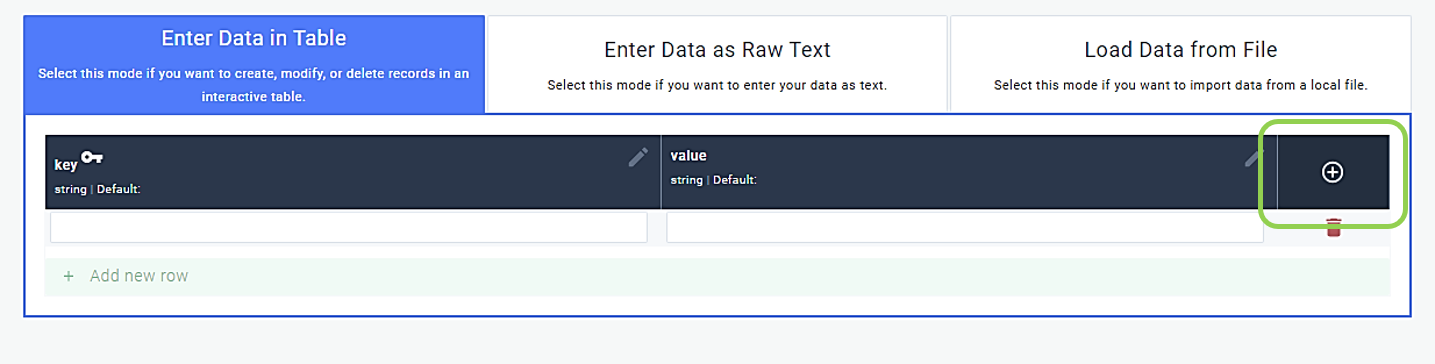
Enter a key name in the Name field.
Optional: Enter a key description in the Description field.
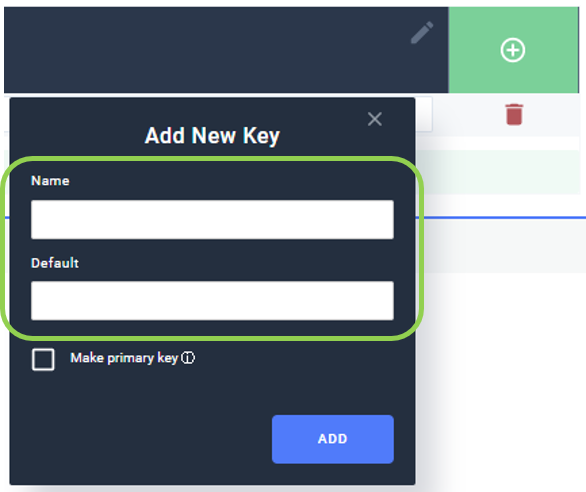
Optional: To designate this key as the primary key, check the box next to "Make primary key".

Click
 at the bottom of the Add New Key window to save the new key.
Click
 below the column headers to add a new record to the lookup, and enter the desired value in each field.
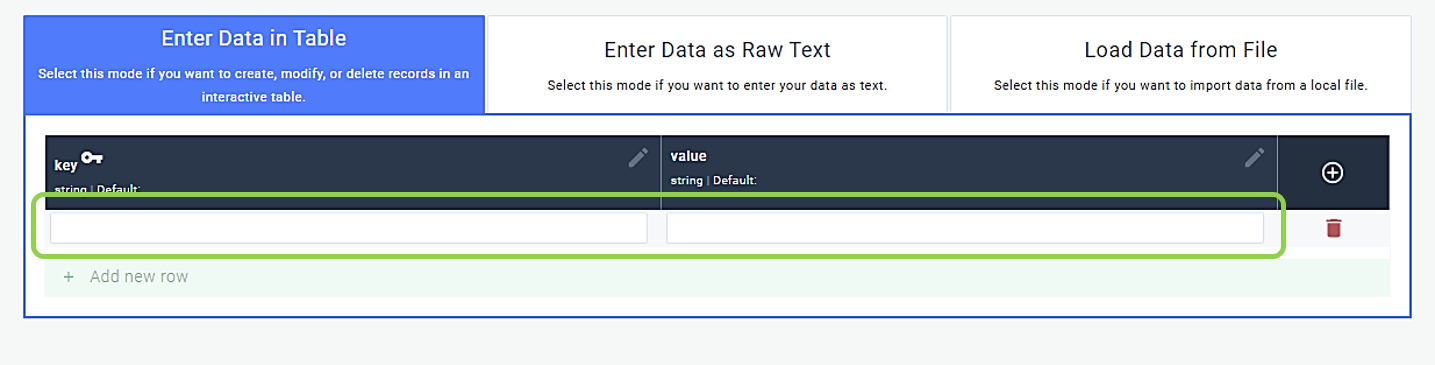
Optional: To remove a row from the lookup, click the
 icon to the right of the row.
 Optional: To designate a different primary key , click
on the right side of the desired key header, and check the box next to "Make primary key". Then, click at the bottom of the Edit Property window to save the change. 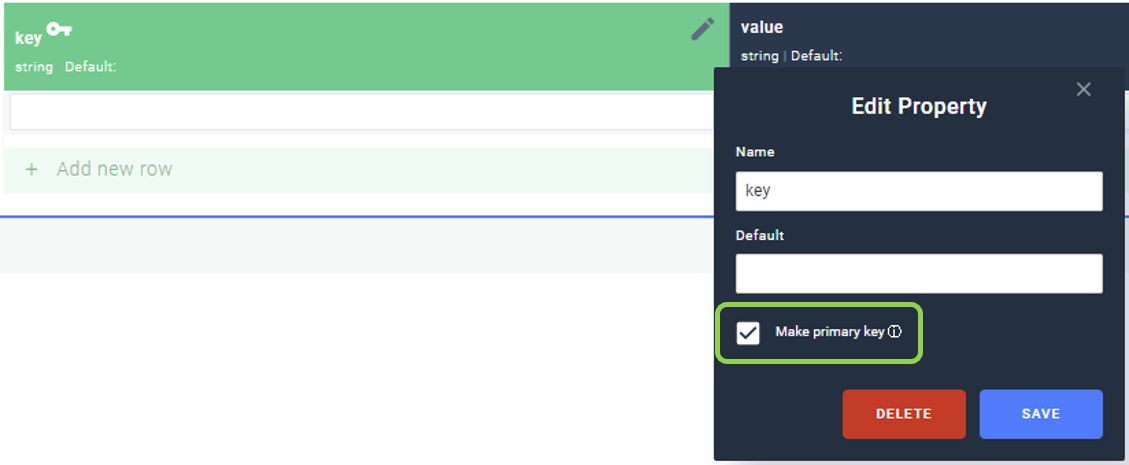
To enter a default value for a key column, click
on the right side of the key header, and enter the desired default value in the Default text field. Click to save the default value. 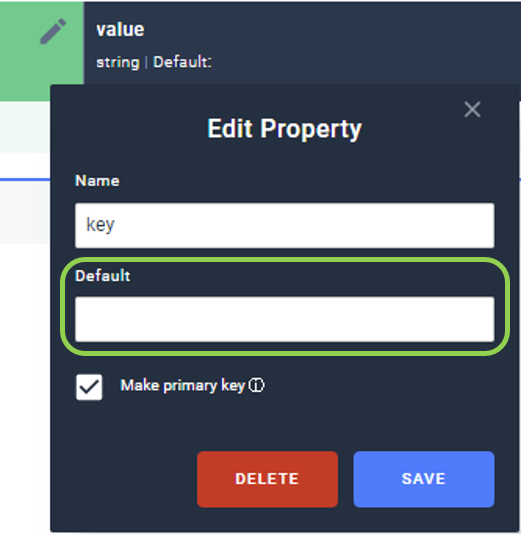
Proceed to Section 5
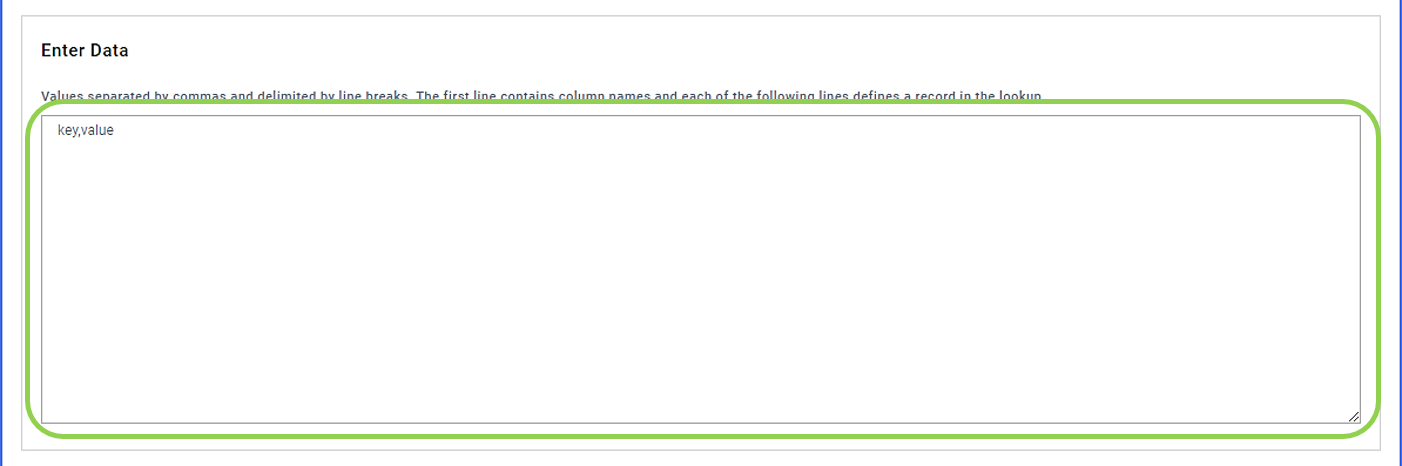
3. Enter Lookup Data as Raw Text
To enter lookup data as raw text within the Nexla platform, select the
 tab.
tab. Two columns are initially provided. The first, labeled "key", is selected as the primary key value column by default.
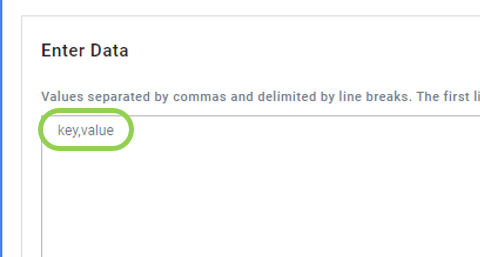
Enter the lookup data in the Enter Data text field beginning on the second text line, with the values separated by commas and delimited by line breaks.
The first text line contains the column names.
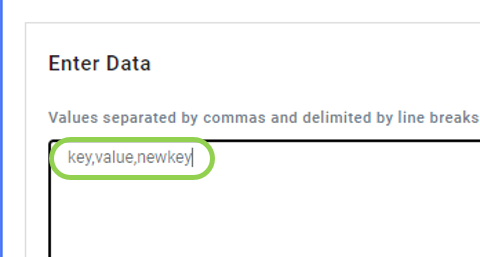
Optional: Edit the column names by changing the text in the first line in the Enter Data text field.
Optional: To add another key column, add the desired key name to the first text line, separated by a comma.
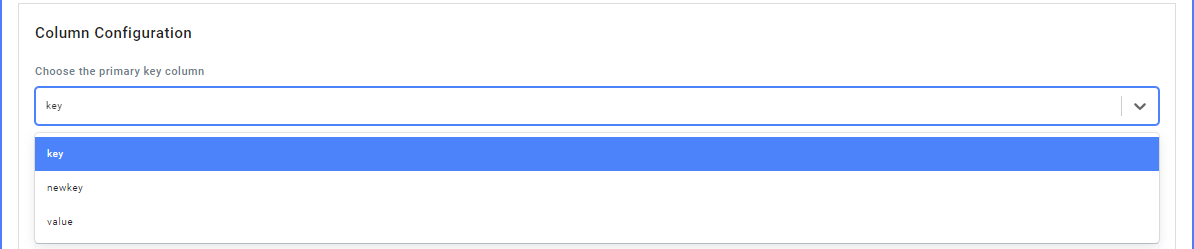
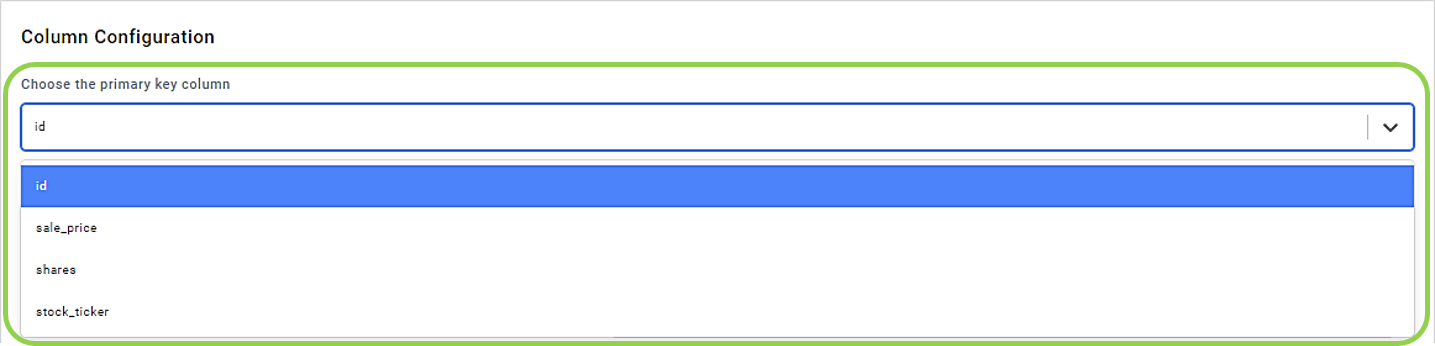
Optional: To change the designated primary key, use the pulldown menu labeled "Choose the primary key column" in the Column Configuration section.
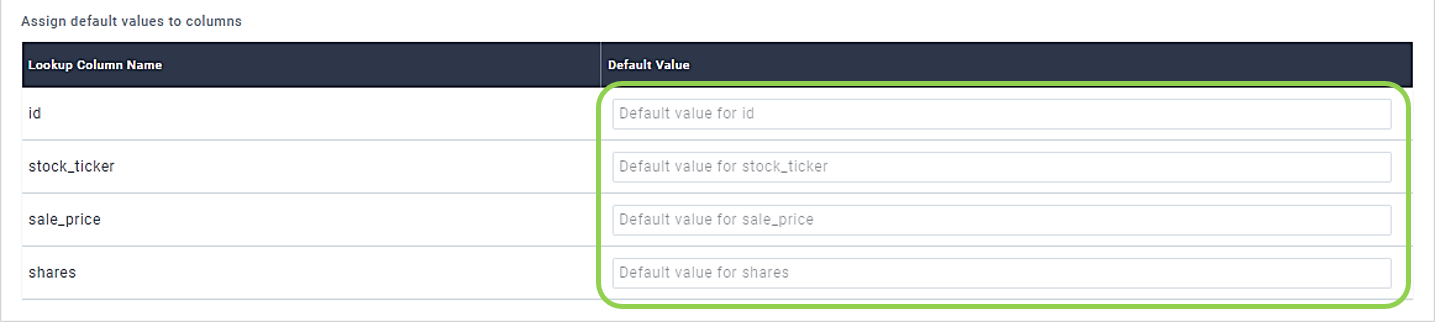
Optional: To provide default values for the key columns, enter the desired default value next to each lookup column name in the table labeled "Assign default values to columns" in the Column Configuration section.

Proceed to Section 5.
4. Load Lookup Data from a File
To load lookup data from a local file, select the
 tab.
tab.Click the
 button to open a file explorer window, choose the file containing the desired lookup data.
 Lookup data can be uploaded from files in .csv format with values separated by commas and delimited by line breaks.
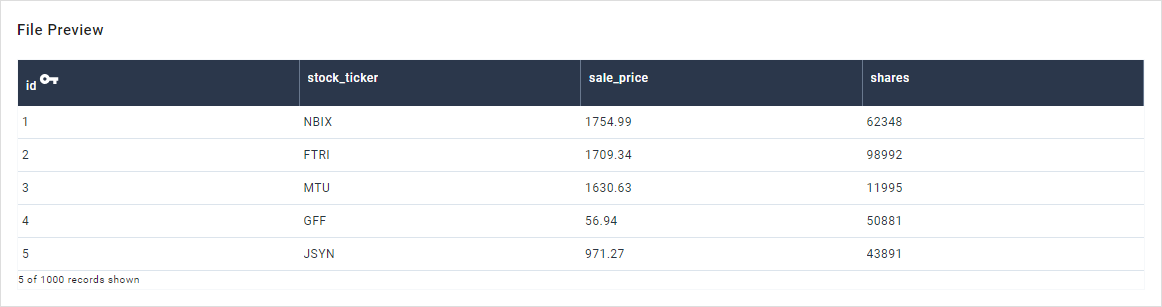
The values in the first row of the file will be used as the corresponding key value column names.
Preview and confirm the lookup data in the File Preview section.
Optional: To change the designated primary key, select the desired key using the "Choose the primary key" pulldown menu in the Column Configuration section.
Optional: To assign default values to the key columns, enter the desired value in the Default Value text field to the right of each key in the table labeled "Assign default values to columns" in the Column Configuration section.
Proceed to Section 5
5. Save and Create the Lookup
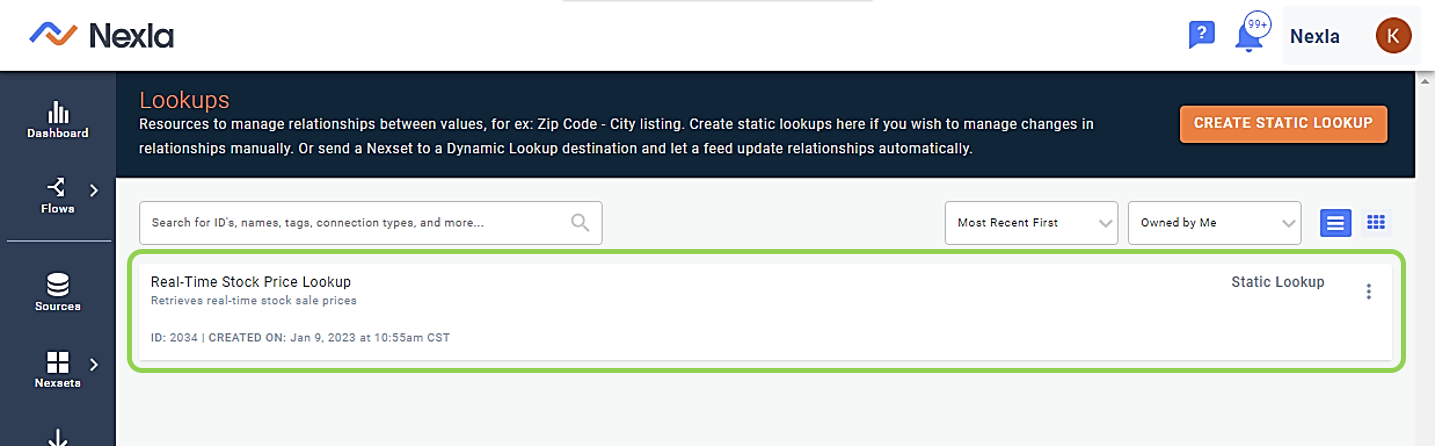
Once all lookup data has been entered, click
 in the top right corner of the screen to save the lookup. This will close the Create Lookup screen, and the new lookup will appear in the Lookups list.