Transforming with Data Lookups
This article provides information about using data lookups to transform data in Nexla. Data lookups are used to convert data values based on information in another data source. For example, a lookup can be used to fetch product information corresponding to incoming customer orders.
To learn how to create data lookups in Nexla, see our articles Create a Static Lookup and Create a Dynamic Lookup.
See the video below for an introduction to data lookups in Nexla, as well as an in-app walkthrough of the instructions provided in this article:
1. Select the Nexset to Be Transformed
Click the
 icon on the Nexset to be transformed. This will open the Nexset Designer screen.
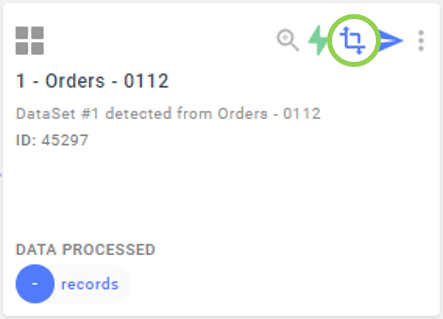
2. Apply the Lookup
In the Nexset Rules panel in the middle of the screen, click
 , and select
  from the menu that appears. This will create a new Transform rule group.
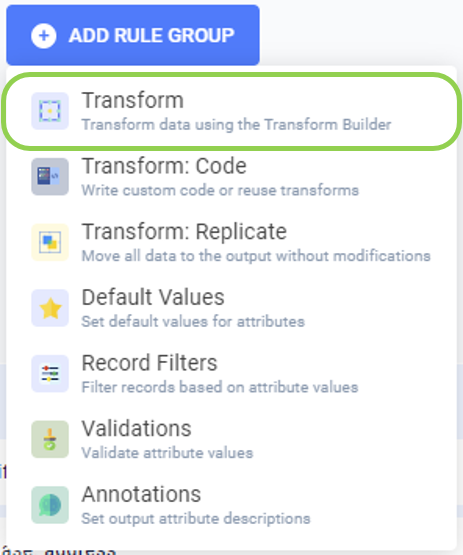
Enter a name for the output attribute in the Output Attribute text field.
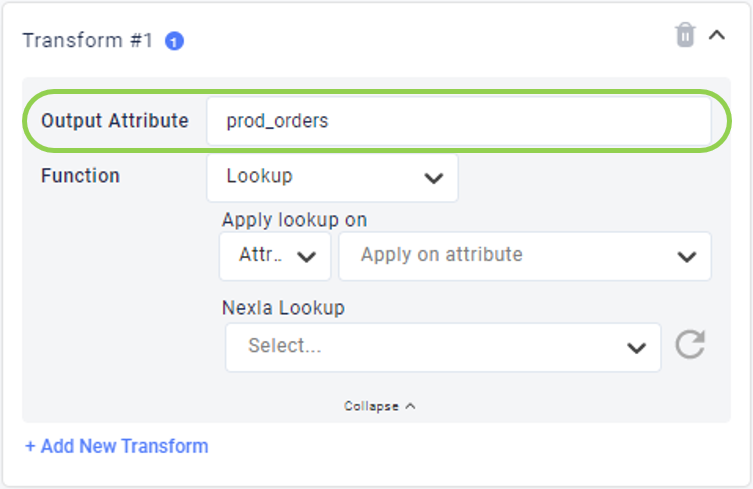
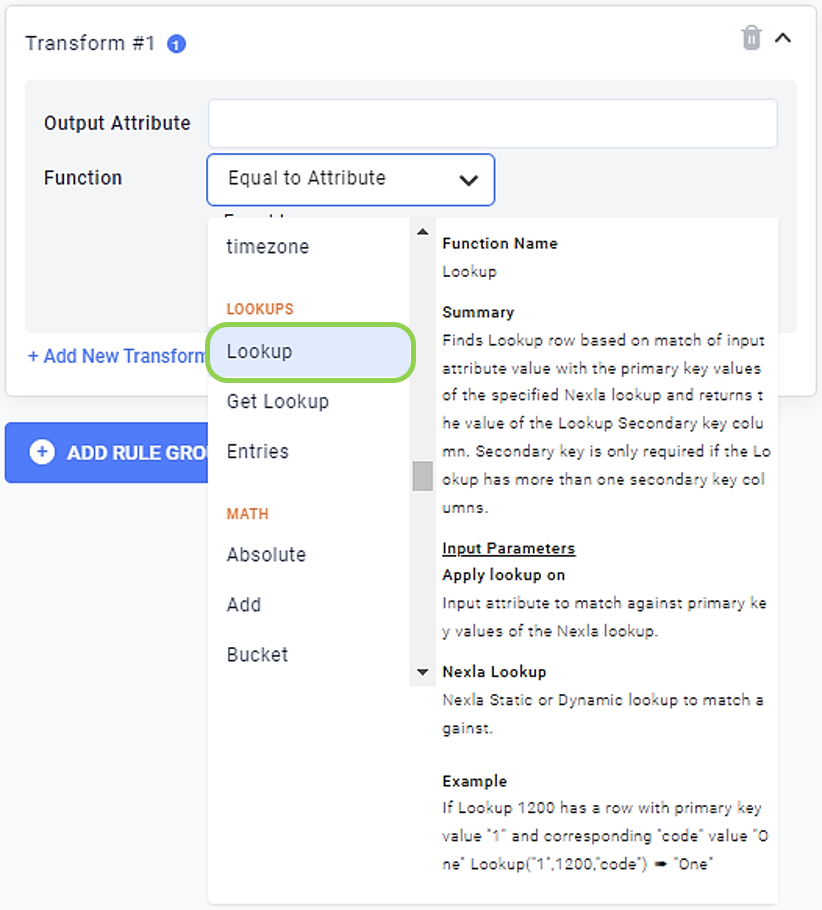
In the Function pulldown menu, scroll to the Lookups category, and select
 .
. 
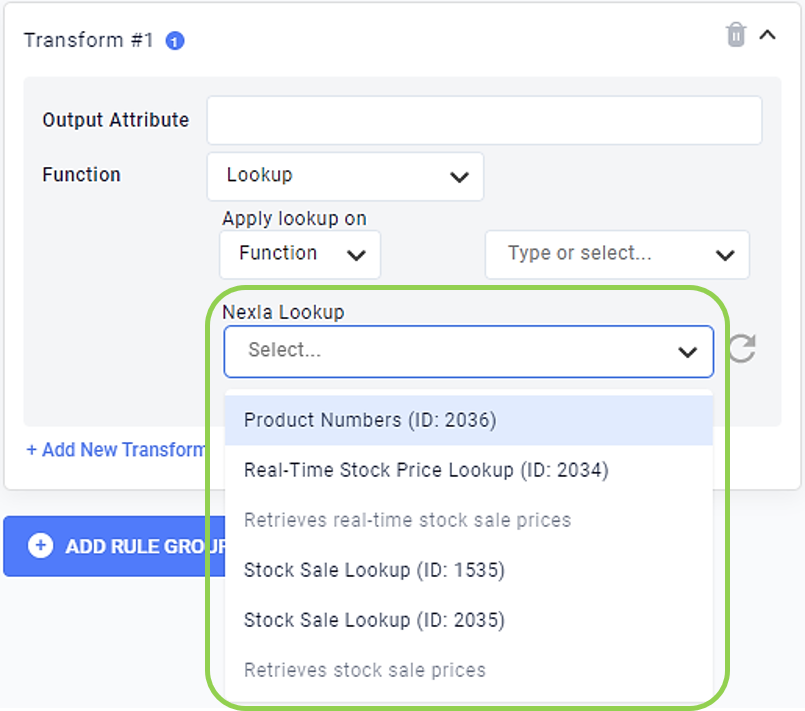
Select the lookup to be applied from the Nexla Lookup pulldown menu.
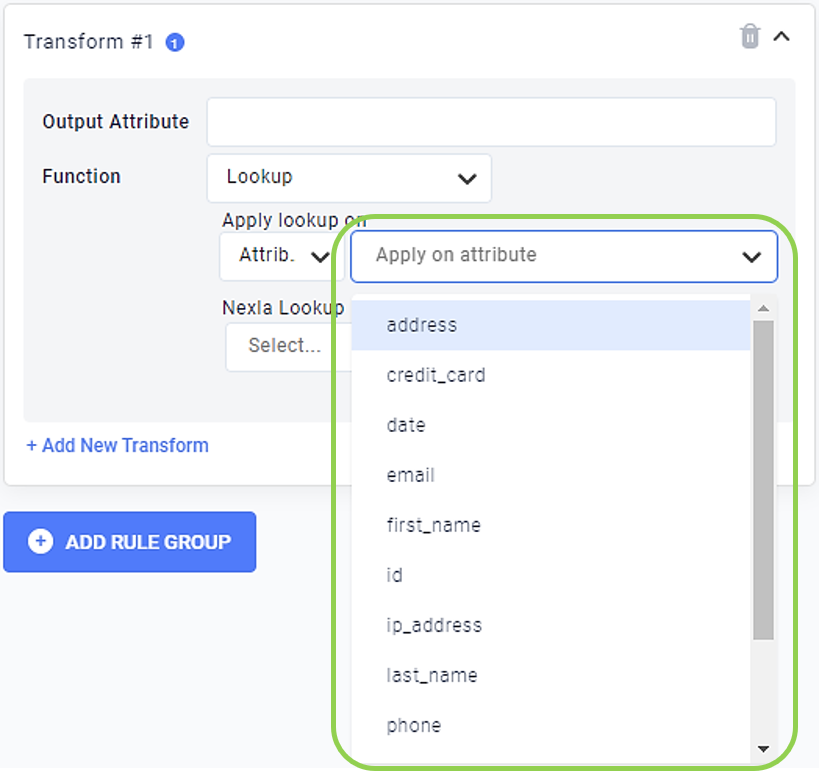
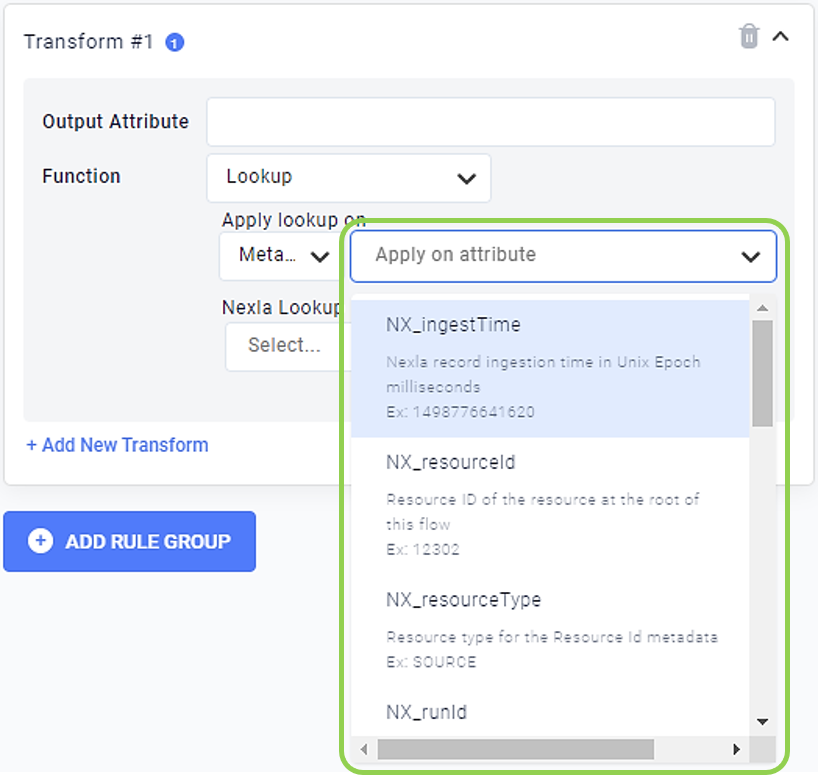
Select the attribute to which the lookup should be applied from the pulldown menu labeled "Apply on attribute".
Optional: By default, the Attribute category is selected under "Apply lookup on". To apply the lookup to a function or metadata, select the desired category from the left pulldown menu.
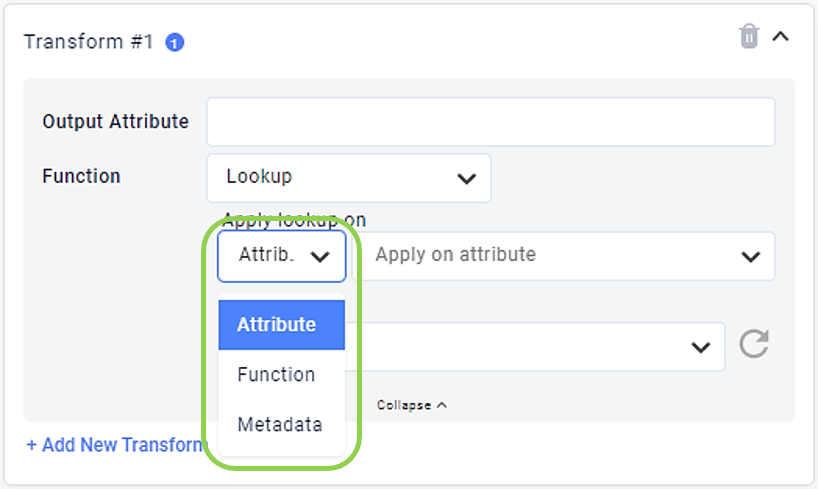
To apply the lookup to a function, select the desired function from the pulldown menu on the right.
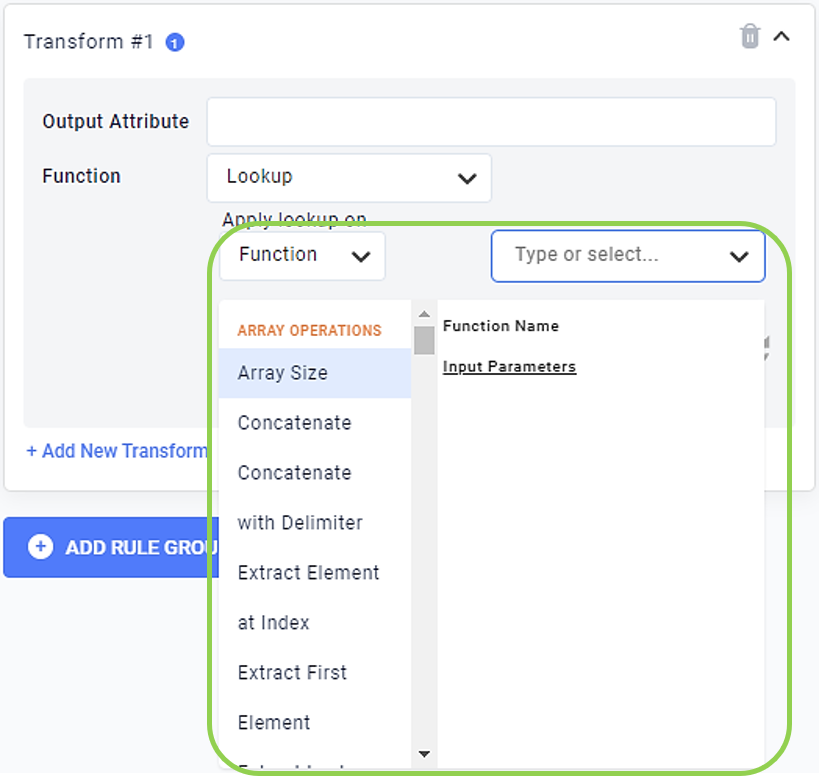
To apply the lookup to metadata, select the desired metadata type from the pulldown menu on the right.
Optional: If the lookup contains more than one secondary key, select the attribute that should be included in the output Nexset from the Secondary Key menu.

3. Preview the Output and Save the Transform
Click
 at the top of the Nexset Rules panel to preview the output data in the Nexset Output panel on the right.
Optional: Repeat Steps 2-8 in Section 2 to include additional lookup-based output attributes in the output Nexset, and/or use other Nexset rules to include other types of attributes.
Click
 in the top right corner of the screen at any point during transform construction to save the current transform progress. Once all necessary attributes have been added, click
  to save the transform and close the Nexset Designer.