Edit Input Samples
This article provides information on how to edit input samples in the Nexset Designer as well as how this capability may be used.
1. Applications of Editing Input Samples
When working with sparse datasets and/or datasets that will change over time, transformations sometimes need to include rules that will apply to incoming data values that aren't contained in the current input dataset. In Nexla, input data samples can be temporarily edited, allowing users to confirm that transform rules produce the expected output regardless of the size and content of the input dataset available during transformation construction.
2. Edit Input Samples in the Nexset Designer
To begin editing input samples, click the
 icon at the top of the Nexset Input panel in the Nexset Designer screen. This will convert the input sample view to JSON format.
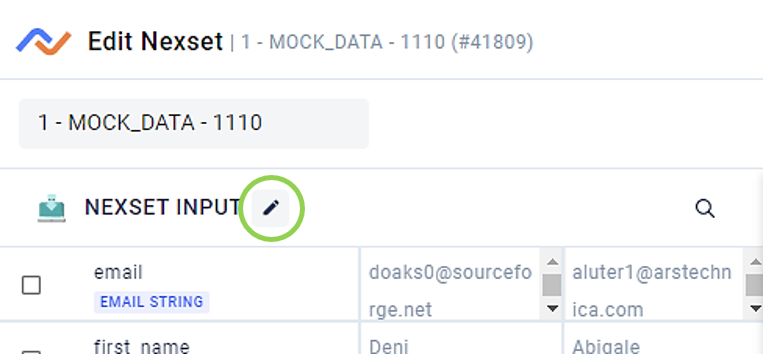
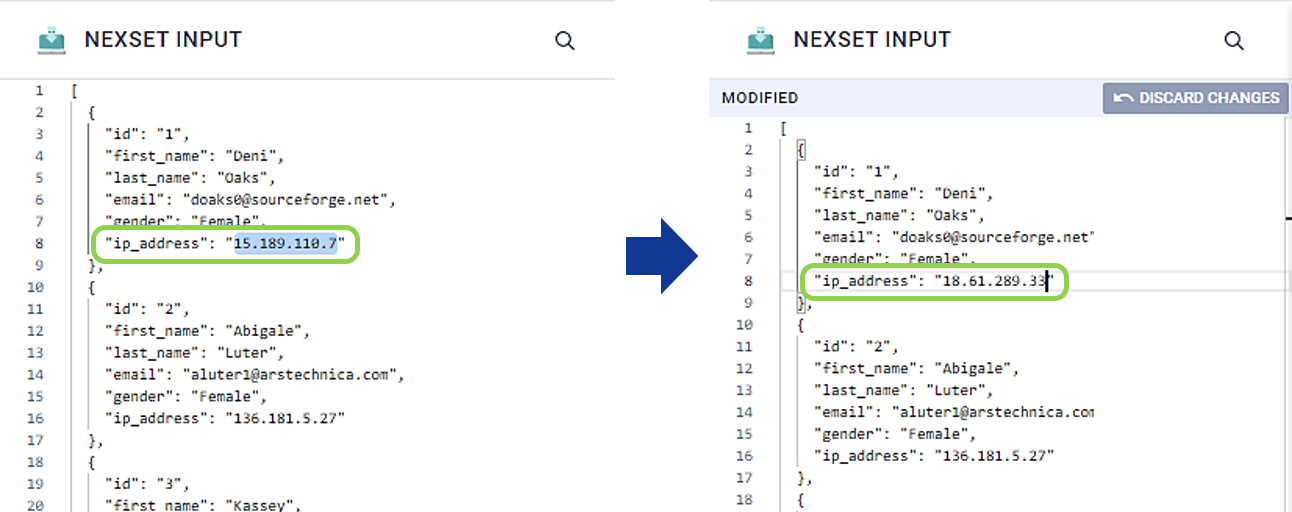
Input sample attributes can be edited by replacing existing values directly in the Nexset Input panel, and additional samples can be added in JSON format.
These sample edits are only temporary and are not saved to the output Nexset or persisted to the data source.
Once input samples have been edited, click
 to confirm that any configured Nexset Rules produce the expected output from the edited samples.
Steps 2 and 3 can be iterated as needed during the transform construction process.
To revert the input samples to their original values, click
 at the top right of the Nexset Input panel.