Convert Data into a Different File Format
This article provides information about using Nexla to convert data into different file formats.
1. Introduction
For some destinations, Nexla provides the ability to convert data contained in a Nexset into a different file format before it is sent to the destination, saving time otherwise required to convert data using additional tools.
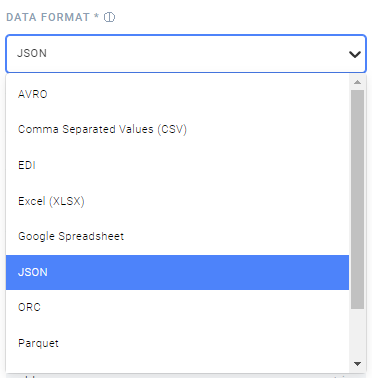
Data can be formatted into AVRO, comma-separated values (.CSV), EDI, Excel spreadsheets (.XLSX), Google spreadsheets, JSON, ORC, Parquet, tab-separated values (.TSV), XML, and other formats.
2. Select the Output Data Format
Begin setting up the data destination by following the instructions provided for the specific destination in the Connectors section of the Help Center.
In step
 in the Send Nexset to Destination screen, select the desired output data format from the Data Format pulldown menu.
 This option is available for most destinations but is not supported for some destinations.
Preview samples of the output data in the selected file format will be shown in the panel on the right side of the screen. These samples can be used to confirm that the Nexset contains the desired data in the correct format.

The available output file formats include additional configuration settings, which will appear when each of these formats is selected. Information about these settings for each format is provided in the following sections.
After configuring any additional settings, continue following the instructions provided for the specific destination in the Connectors section of the Help Center.
2.1 AVRO
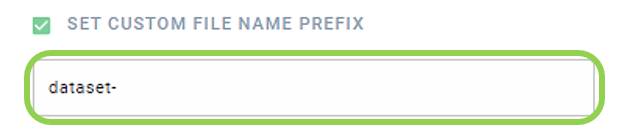
To set a custom filename prefix for the output data, check the box next to
 .
. Enter the desired prefix in the text field that appears below this setting.
2.2 Comma-Separated Values (.CSV)
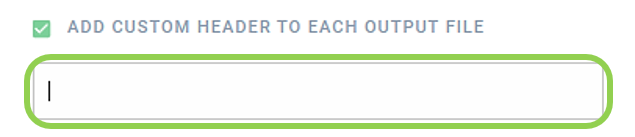
To add a custom header to each output file containing the data in the Nexset to be sent, check the box next to
 .
. Enter the desired header in the text field that appears below this setting.
2.3 EDI
To set a custom filename prefix for the output data, check the box next to
. Enter the desired prefix in the text field that appears below this setting.
2.4 Excel (.XLSX)
To add a custom header to each output file containing the data in the Nexset to be sent, check the box next to
. Enter the desired header in the text field that appears below this setting.
To set a custom filename prefix for the output data, check the box next to
. Enter the desired prefix in the text field that appears below this setting.
2.5 JSON
To add a custom header to each output file containing the data in the Nexset to be sent, check the box next to
. Enter the desired header in the text field that appears below this setting.
To set a custom filename prefix for the output data, check the box next to
. Enter the desired prefix in the text field that appears below this setting.
2.6 ORC
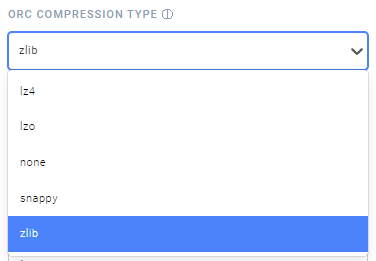
Select the compression algorithm that Nexla should use to compress the Nexset data into an ORC file from the ORC Compression Type pulldown menu.
To set a custom filename prefix for the output data, check the box next to
. Enter the desired prefix in the text field that appears below this setting.
2.7 Parquet
To set a custom filename prefix for the output data, check the box next to
. Enter the desired prefix in the text field that appears below this setting.
2.8 Tab-Separated Values (.TSV)
To add a custom header to each output file containing the data in the Nexset to be sent, check the box next to
. Enter the desired header in the text field that appears below this setting.
To set a custom filename prefix for the output data, check the box next to
. Enter the desired prefix in the text field that appears below this setting.
2.9 XML
Enter the wrapper XML tag that should be used for the data contained in each Nexset record in the Parent XML Tag field.
The default Parent XML Tag is "root".

To add a custom header to each output file containing the data in the Nexset to be sent, check the box next to
. Enter the desired header in the text field that appears below this setting.
To set a custom filename prefix for the output data, check the box next to
. Enter the desired prefix in the text field that appears below this setting.