Send Data to a Database/Data Warehouse
This article introduces databases as data destinations and provides general information about working with these storage systems in Nexla.
1. Databases/Data Warehouses and Nexla
Databases provide an efficient way to store, manage, and access large volumes of both structured and unstructured data. Data stored in databases is used in a wide variety of operational and transactional workflows, including retail order and inventory tracking, business decision-making, financial transaction tracking, and many others.
Data warehouses are also used to store and access large volumes of structured or unstructured data, but typically, this data is aggregated from multiple sources and includes both current and historical data. Data stored in data warehouses is used to support workflows such as in-depth data analytics, data mining, artificial intelligence, and machine learning.
Examples of databases and data warehouses include Google BigQuery, Snowflake, RedShift, MySQL, and Oracle Autonomous.
Nexla can connect to and ingest data from any database or data warehouse, allowing users to quickly and easily build data flows that ingest data from these sources, apply any needed transformations, and send the data to any destination. Data flows originating from databases and data warehouses can be constructed to suit any use case, and Nexla's comprehensive governance and troubleshooting tools allow users to monitor every aspect of the flow status, data lineage, and more.
2. Setting Up a Database/Data Warehouse Destination
With Nexla's connectors, users can quickly and easily begin sending data to any database or data warehouse destination. This section provides general instructions and information about adding a database or data warehouse destination to any data flow.
2.1 Begin Sending a Nexset to a Database/Data Warehouse
After logging into Nexla, navigate to the Integrate section by selecting
 from the platform menu on the left side of the screen.
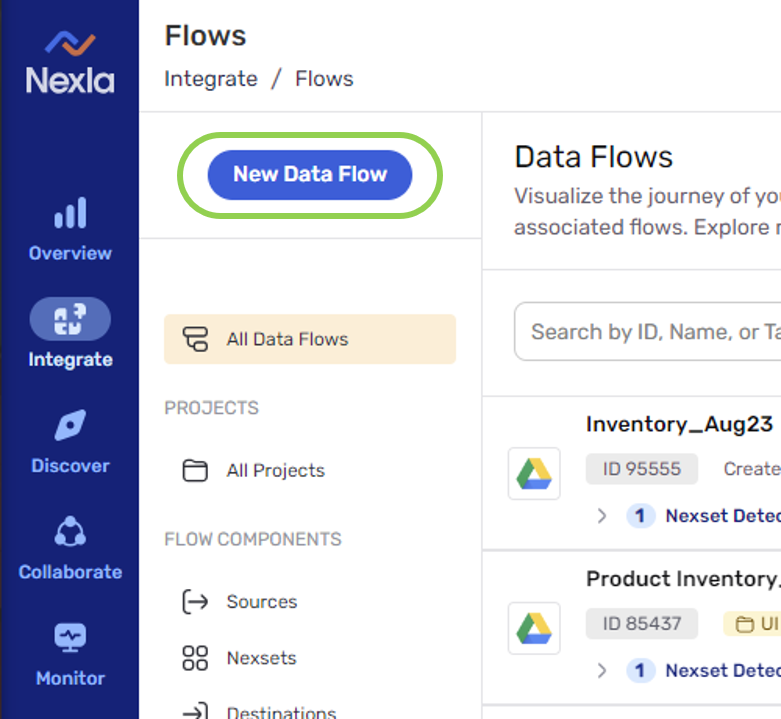
In the All Data Flows screen, click on the data flow containing the Nexset that will be sent to the database/data warehouse destination to expand it.
In the All Data Flows screen, data flows are listed by the flow origin, which is the data source at the start of the data flow.

Click the
 icon on the Nexset to be sent to the database/data warehouse destination. This will open the Select Destination Type screen.
To view all of Nexla's currently available database/data warehouse connectors, select
 from the Categories list on the left.
Select the connector type corresponding to the database/data warehouse destination to which the Nexset will be sent—for example,
 .
. Create a new credential that Nexla should use to connect to the database/data warehouse; or select an existing credential, and click
 .
. The information required to create a new credential varies by the database/data warehouse type. Detailed information about credential creation for specific sources can be found in the Connectors section of the Help Center.
In the
 screen, all database/data warehouse locations and tables are shown. Nexla can be configured to send the data in the Nexset to an existing table or to create and send the data to a new table.
 To learn how to send data to an existing table, see Section 2.2.
To learn how to create and send data to a new table, see Section 2.3.

2.2 Send Data to an Existing Table
Find the database/data warehouse table to which Nexla will send the data. Expand locations as necessary by clicking the
 icon next to each.
Select the table to which the data will be sent by hovering over it and clicking the
 button that appears to the right of the listing.
 The button should now display
 , and the path of the selected location will be shown at the top of the list.
Click
in the top right corner of the screen. Proceed to Section 2.4.
2.3 Create and Send Data to a New Table
Find the database/data warehouse location in which a new table should be created, and expand the location by clicking the
icon next to it. Click
 at the top of the list of tables in the expanded location.
 To create and send the data to a new table, users must have permissions to create tables in the selected database/data warehouse location. If these permissions are removed after the data flow is created, all database updates associated with the flow will be stopped, and the user will receive a corresponding notification in Nexla.

Click
in the top right corner of the screen. Enter a name for the new table in the Table Name field.

Proceed to Section 2.4.
2.4 Configure the Update Mode and Table Mapping
Select whether the records contained in the Nexset should be inserted or upserted into the table using the Update Mode pulldown menu.
To learn more about the update modes available for database/data warehouse destinations, see Databases/Data Warehouses: Insert and Upsert Operations.

When UPSERT mode is selected:
Select the attribute that should be referenced as the primary key when performing the UPSERT operation by checking the box for that attribute in the Primary column.

Optional: When upsert mode is selected, by default, Nexla is configured to allow table columns to be updated with Nexset records containing null values. To omit null record values from the upsert and allow records to be partially upserted, uncheck the box next to "Allow column updates with nulls".

Nexla will supply column names under the Column heading based on either the columns in the selected existing table or the Nexset attribute names. These column names can be edited by clicking on a Column field and entering the desired text.

Optional: To create a new column in the table, click
 at the bottom of the table formatting list, enter a column name under the Column heading, and continue to the subsequent steps in this section.
Optional: To delete a column, hover over the row containing that column, and click the icon that appears to the right.

Optional: To change the Nexset attribute mapped to a column, use the Linked Draft Attribute pulldown menu in the column row.

Optional: To change the data type assigned to a column, use the Type pulldown menu to select a different data type.

Optional: If the destination table is vertically partitioned, check the box under the Partitioning Column heading corresponding to the column that should be used for partitioning.

Optional: For clustered tables, check the box under the Clustering Columns heading corresponding to the column(s) that should be used for clustering.

2.5 Configure Record Lineage Tracing Settings
Optional: Nexla provides the option to trace the lineage of records sent to a database/data warehouse. This lineage includes the origin of the record data, all applied transformations or changes, and all destinations to which the record data has been sent over time.
More information about this feature is available in Trace Record Lineage.
To enable record lineage tracing:
Check the box next to
 .
.
Enter the desired tracker name in the text field that appears below the checkbox.

2.6 Complete and Activate the Data Flow
Once the steps in the preceding sections have been completed, click
 in the top right corner of the screen.
 The confirmation screen indicates that the configured database/data warehouse table has been successfully created as a data destination.

Optional: To edit the name of the newly created destination in this screen, click on it, and enter the desired text.

Optional: To enter a description of the newly created destination, click on
 , and enter the desired text.
To activate the flow of data into the database/data warehouse destination now, click
 .
. To activate the flow of data into the database/data warehouse destination later, click
 in the top right corner of the screen.
 When the flow is ready to be activated, find the flow in the All Data Flows screen, and click
 on the destination.
Click
 on the destination menu to activate the flow of data into the database/data warehouse destination.